
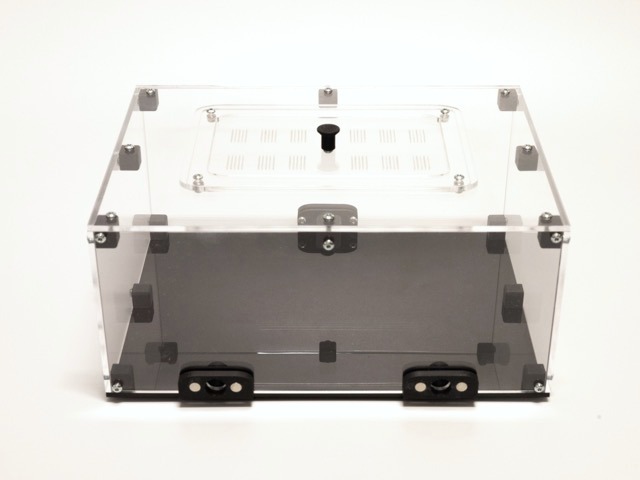
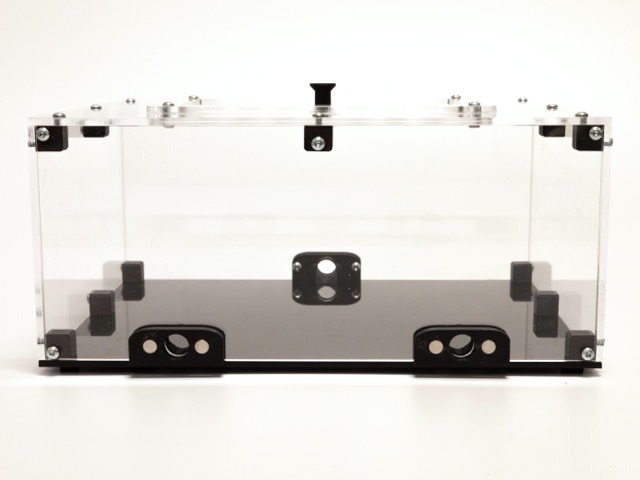
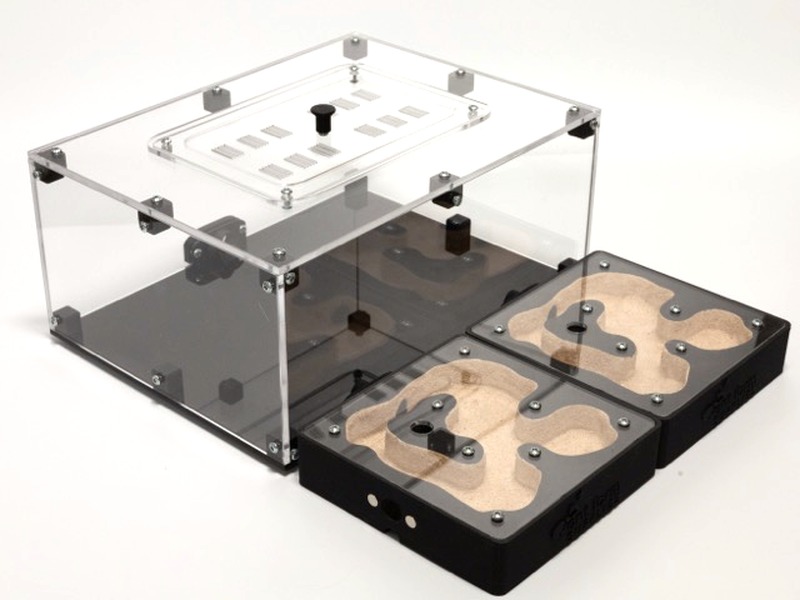

AFS Outworld – L
From: £37.50
Description
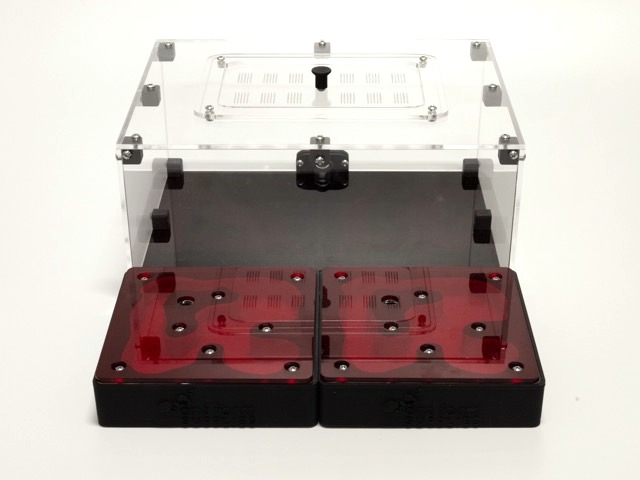
This outworld is designed to be able to attach 2x Mv3 nests to the outworld perfectly. But there is also another port on the other side of the outworld which you can use if you only have one nest.
What’s Inside:
- Acrylic Panels: 2 side panels (one with logo), 2 side panels with connection ports (one single, one double), 1 three-piece top panel, 1 coloured base panel
- Fixings: 53 x 8mm screws (plus extras), 4 x nuts
- Support Blocks: 4 x Block A, 4 x Block B, 6 x Block C
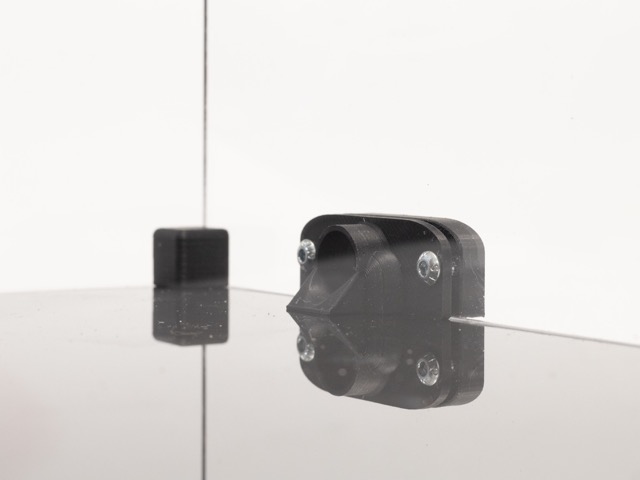
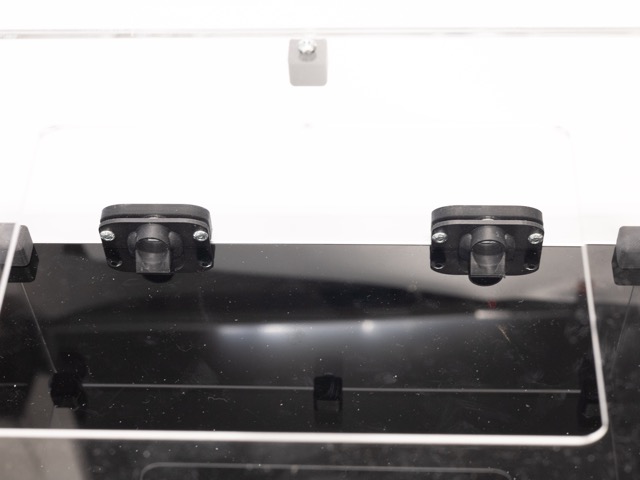
- Connectivity: 3 x Port slope with magnet connector, 2 x Tube plug with ventilation, 2x Magnetic blockers
- Finishing Touches: 4 x Feet, 1 x Handle, 1 x Allen key
Assembly Steps:
- Remove the protective film from all acrylic pieces.
- Attach Blocks A, B, and C to the coloured base using the 8mm screws, following the provided image for placement. Ensure the rough side of each block faces down. Tip: Pre-sorting Blocks A and B (which alternate at the corners) and checking the side panel alignment early on can prevent errors.
- Before attaching the side panels, secure the port slope and magnet connectors to each port opening using the two screw holes on either side. The slope should be on the inside of the outworld, and the magnets on the outside, and the logo facing outwards on the side panel.
- Screw all side panels onto the base.
- From the underside of the outworld, screw the inside slopes of the magnetic connectors onto the base.
- For the top panel, attach Blocks A and B to the top corners of the sides and the C Blocks to the middle of each side panel, again referring to the image for placement. The rough side of these blocks should face upwards.
- Position the three-piece top panel and assemble the lid by hand-tightening the screws and nuts.
- Attach the handle to the lid using a single screw inserted from the underside. Refer to the image for correct positioning.
- Finally, ensure all screws are securely tightened and push the feet onto the four corner screws on the bottom of the outworld.
Additional information
| Dimensions | 24 × 18 × 11 cm |
|---|---|
| Colour | Black, White |
| Ant barrier | Yes (+£5.99), No |
Reviews
There are no reviews yet.